or two
Between doing other things I’ve been getting extra exercise sorting out my workroom and storage. We’ve seriously run out of bookshelf room in every possible place in the house and sorting has been sitting on the to-do list far too long.
It’s never easy for us to relinquish books so I thought meantime, until we manage to build up the determination to do it, I’d try and find some space elsewhere. That’s how I ended up doing the workroom sorting.
Most of the bits and pieces I’ve been trying to use up (as opposed to buying more) have been stored in cardboard boxes around the room and under the work-surfaces. In going through these items I’ve freed up a set of cubby holes original bought at the closure of a local knitting/sewing shop many years ago.
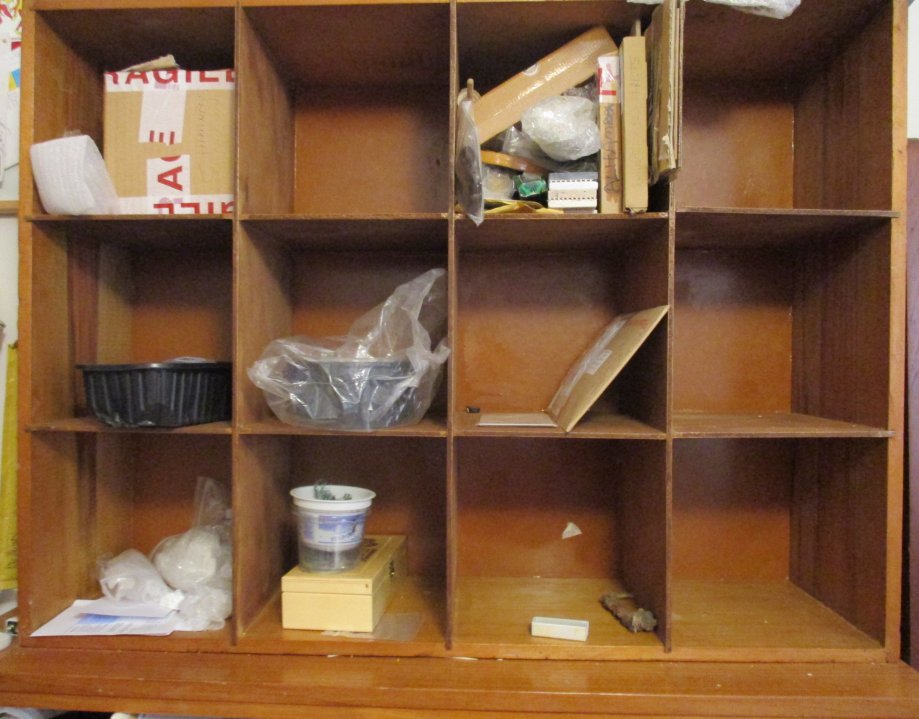
As many of my books re mini-ing and crafts generally have had to be stacked on top of each other making it very difficult to get at some of them without doing damage to both me and the books, it would be great to get some books into this ‘shelving’. The height of each cubby is only going to allow an 8” books to fit (20cms or so) but it would be very useful, nevertheless. The downside is that the smaller books range across various areas of crafts, history or general knowledge and therefore will have to ‘live’ in smaller clusters of their subject matter.
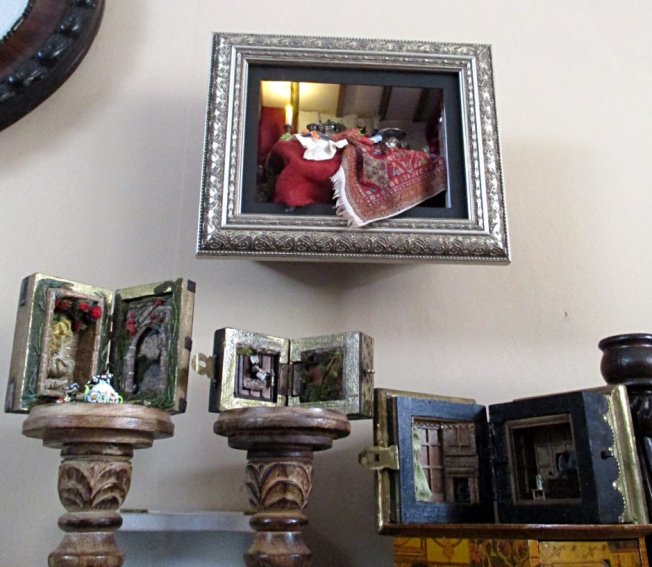
But as you can see from the shape of the cubbies in the photo it is far too tempting a set of spaces not to use some of them for mini constructions seeing as how they are so room-room-boxy.
Am having a go at designing a variation of a room box to fit one of the cubbies and I’ll see how it goes from there.
It’s a bit of a leap in the dark, this box, as it’s sort of a combo of book nook, room box and … well you’ll see.


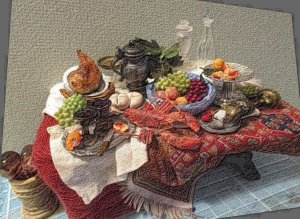
I experimented with paper cut out figures, cut from computer print outs of famouse paintings.
These next two photos show what they looked like.


The figure (paper cut out) is leaning up against the left-hand larger mirror which will be entirely hidden when the dividing wall is back in place between the corridor and the larger area to the front which will be the main room.
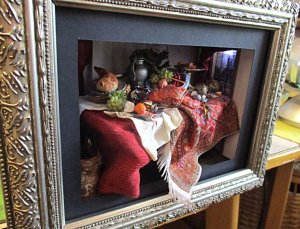
The next one shows trying out both figures together but I think I’m going to go with the darker, less colourful image by herself. The very last one of the two photos shows how the figure and the mirrors are set up.


So far the room box appears to be of a greater depth than the books and shelves, which is at least a ‘good thing’.
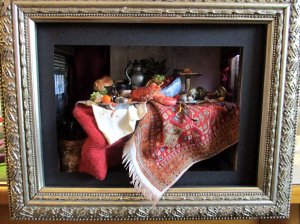
The plan for this first one is to have side walls, a ceiling and hopefully a frontage too with possibly a smidgeon of lighting.
With the exception of the freshly printed figures, everything used is from what I’ve had in stock. Am determined (this time) to use up as much of it as possible in these experiments.
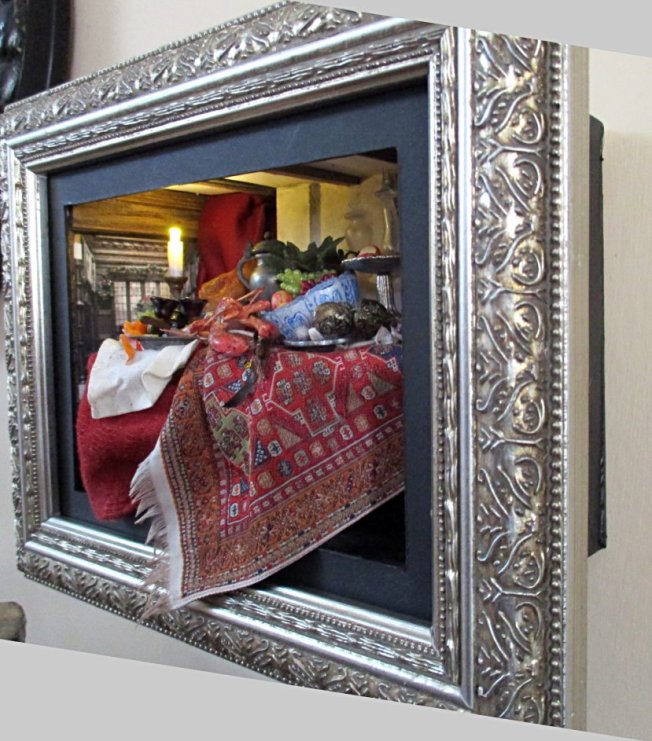
The visuals play havoc with your sense of what you’re seeing though as you work on it, and the angles for the mirrors were fun to work out. I’ve made a fair old mess of applying the tissue with the pattern on it on the back wall of the corridor but I’ll see what I can do about that, perhaps with a little bit of visual distraction around it, who knows.
The optical illusion is an attempt to pay homage to van Hoogstraten’s peep-show and here is a further link to more information on some of the optics involved.